
For anyone comparing the best miniature room DIY kits, the appeal is easy to understand: these small-scale projects combine crafting, decorating, and model building in one relaxing hobby. A finished scene can become a shelf display, a thoughtful gift, or simply a satisfying project for a quiet weekend. The difficult part is choosing a kit that matches your patience, skill level, available space, and expectations.
Some focus on realistic interiors, while others emphasise lighting, furniture, or a simpler assembly process. This guide explains how miniature room kits work, which features matter, where beginners can run into trouble, and when a different type of model-building kit may be a better fit.
What Are Miniature Room DIY Kits?
Miniature room DIY kits contain the materials and instructions needed to build a small interior scene. Depending on the design, a kit may include miniature furniture, flooring, wall panels, fabric, paper elements, decorative accessories, adhesives, lighting components, and a display enclosure or room shell.
The builder normally assembles the structure, creates or finishes the furnishings, and arranges the scene according to the instructions. Some kits are designed around a particular setting, such as a bedroom, café, library, greenhouse, workshop, or living room. Others provide a more open-ended miniature house layout.
These kits are often marketed toward adults, but suitability depends less on age than on the complexity of the parts. Tiny pieces, delicate materials, wiring, and repeated gluing can make some designs unsuitable for young children. Buyers should read the age guidance and check whether tools, batteries, glue, or paints are supplied.
Are Miniature Room DIY Kits Worth Buying?
For the right person, a miniature room kit can offer many hours of focused creative work and a display piece that feels more personal than a ready-made model. It can also be a useful way to try miniature crafting without sourcing every individual material separately.
The value depends heavily on the contents and the building experience. A kit with unclear instructions, fragile components, missing accessories, or poorly matched materials can become frustrating. The lowest purchase price isn’t always the best value if the builder must buy several extra supplies or replace damaged parts.
A kit is likely to be a good choice if you:
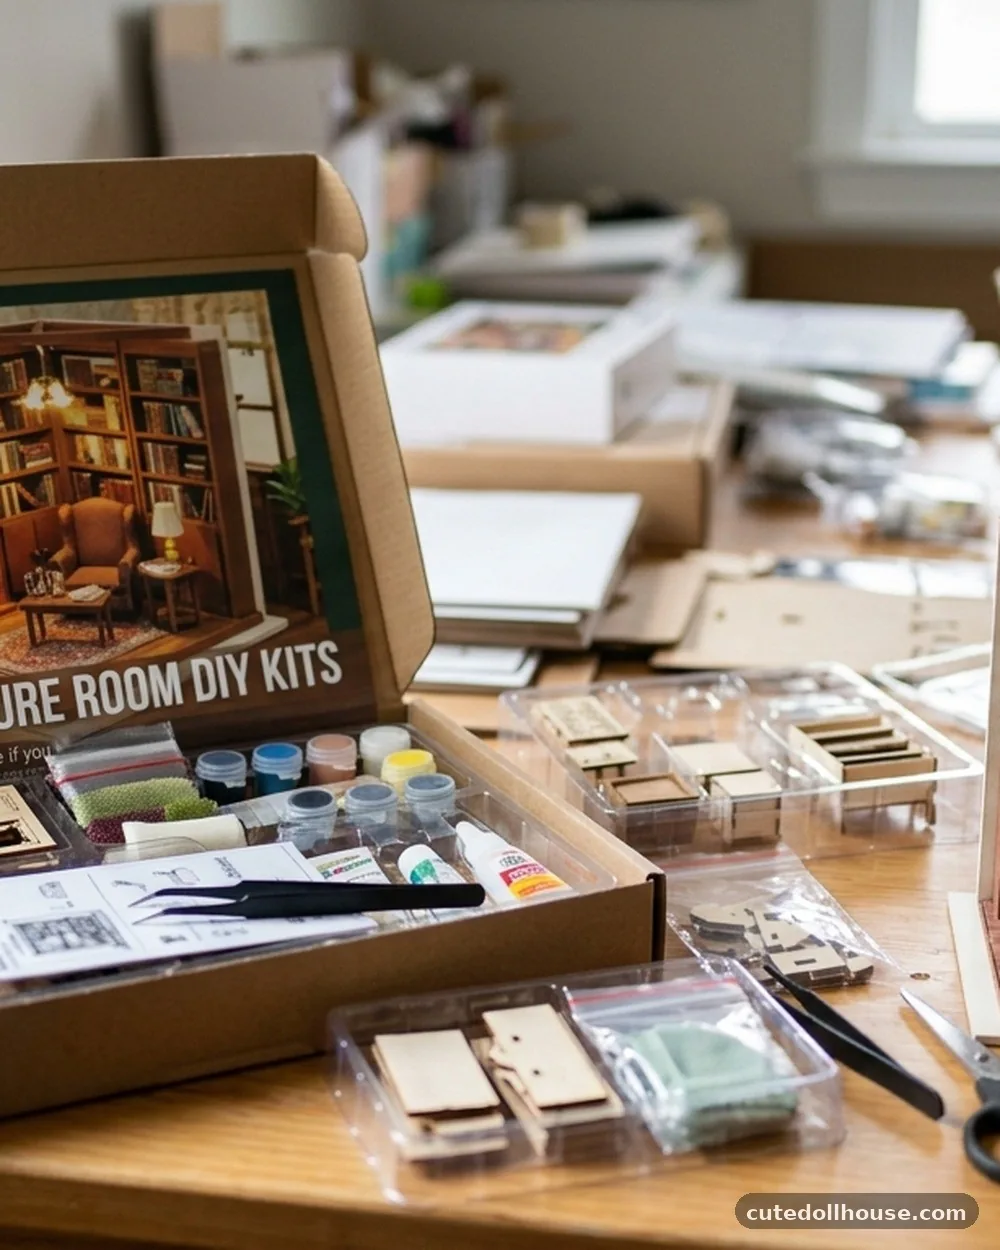
- Enjoy detailed crafts, model making, scrapbooking, or miniature decoration.
- Have a stable, well-lit workspace where small pieces won’t be lost.
- Like projects that require patience rather than quick results.
- Want a themed display scene instead of a functional dollhouse.
- Are comfortable checking instructions carefully and making minor adjustments.
Consider an alternative if you:
- Want a finished display immediately.
- Dislike repetitive assembly, gluing, painting, or detail work.
- Need a toy designed for rough handling or frequent play.
- Have limited space for storing parts during construction.
- Need guaranteed compatibility between lighting, batteries, and structural components.
A pre-built miniature scene may suit display-focused buyers better. A traditional dollhouse may be more appropriate for imaginative play or larger furniture. Meanwhile, a basic model-making kit can be a better starting point for someone who wants to practise construction without managing dozens of decorative details.
Miniature Room Kit Types Compared
Because product specifications vary widely by seller and model, comparing broad kit styles can be more useful than relying on a product name alone. The table below shows the typical trade-offs buyers should consider. Exact contents, dimensions, materials, and difficulty can differ between individual kits.
| Kit style | Best for | Typical focus | Difficulty considerations | Main drawback to check |
|---|---|---|---|---|
| Simple room scene | Beginners and shorter projects | Basic furniture and decoration | Usually fewer parts, but small pieces still require care | May offer less visual detail or customisation |
| Detailed themed interior | Experienced crafters and display collectors | Realistic furniture, accessories, and finishes | Often involves repeated assembly and fine decoration | Instructions and parts quality are especially important |
| Lighted miniature room | Buyers who want an illuminated display | LED lighting and atmosphere | May require careful cable routing or battery access | Electrical components may need separate batteries or troubleshooting |
| Miniature house or multi-room kit | Long-term hobby projects | Several connected scenes or a larger structure | More construction stages and greater workspace requirements | Longer build time and more opportunities for missing or damaged parts |
| Open-ended craft kit | Creative builders who want to customise | Flexible layouts, finishes, and decoration | May require more independent planning | Less guidance can be difficult for first-time builders |
What to Check Before Buying
Build and material quality
Look for clear information about the main structural materials. Wood, card, plastic, fabric, resin, metal, and foam can all appear in miniature room projects, but they behave differently during assembly.
Thin panels may be easy to cut or position yet more vulnerable to bending. Fabric pieces may add realism but can fray if they are not finished cleanly.
Product photographs can make a kit look more complete than it is. Check whether the pictured lights, plants, books, food, tools, and other accessories are included or shown only as styling examples. A reliable listing should distinguish included components from optional decorations.
Design and appearance
Choose a theme you’ll still enjoy looking at after the building stage is over. Colour palettes and room styles vary from understated and realistic to colourful and heavily decorative. Buyers who care about appearance should inspect close-up images, not just the main promotional photograph.
Pay attention to scale consistency. Furniture that is noticeably too large or too small can make the finished room look less convincing. If scale is stated, compare it with the dimensions of the display area and any miniature furniture you already own.
Size, footprint, and display space
A miniature room can be small enough for a shelf but still require substantial workspace while it is being built. Before ordering, confirm the finished dimensions as well as the package contents. A scene with a protective case may need more depth than the room itself.
Also consider access. If the display has a closed front, replacing a battery or adjusting a loose piece may be inconvenient. An open-front design can be easier to decorate and maintain, while an enclosed design may offer better protection from dust.
Included tools and accessories
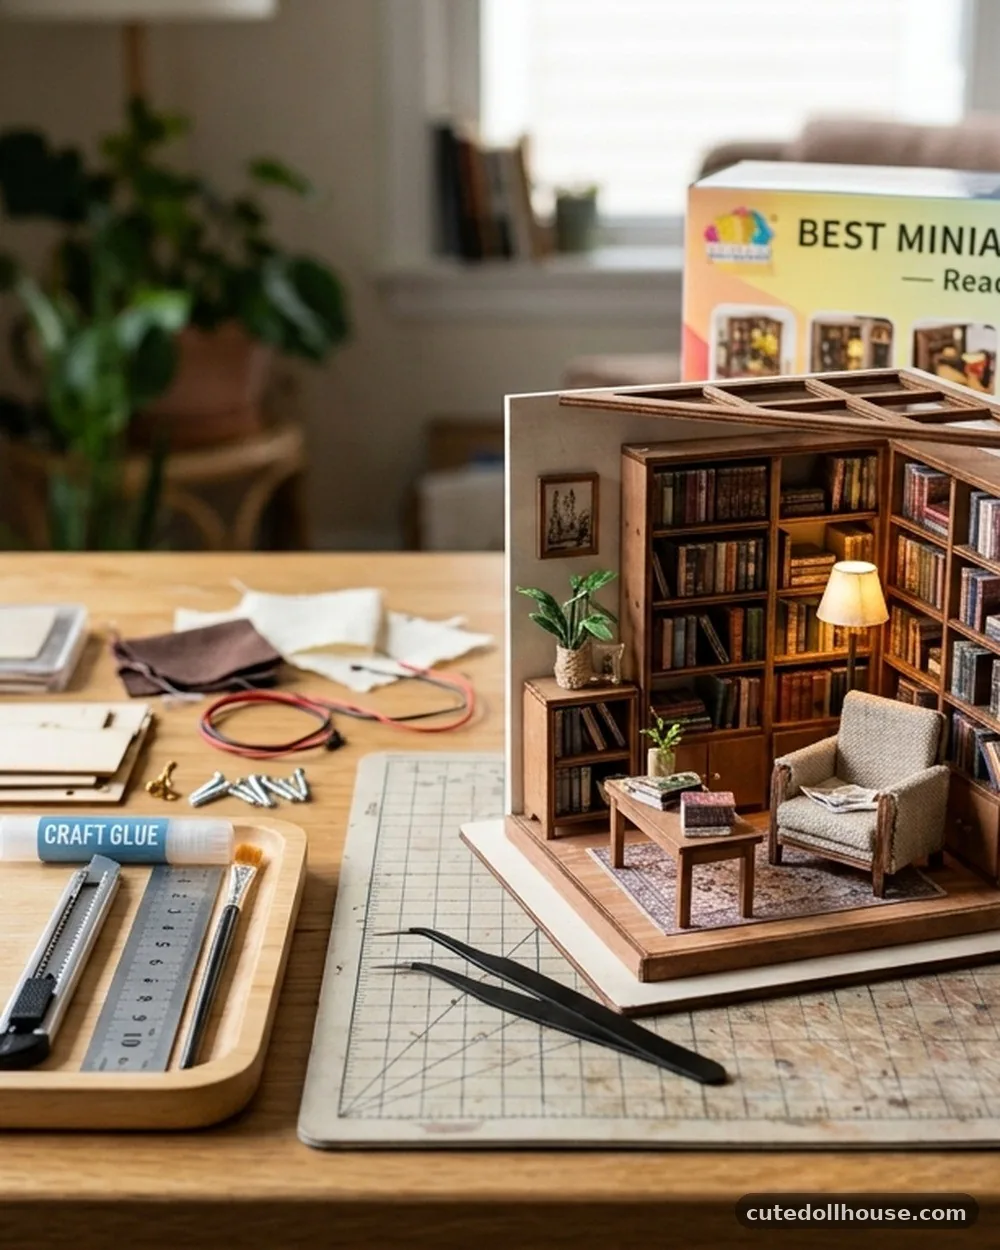
Some kits are sold as all-in-one projects, but that phrase doesn’t always mean every tool or consumable is included. Check the listing for glue, scissors, craft knives, tweezers, paint, brushes, batteries, wire, and other supplies.
A practical starter workspace may include:
- Fine-point tweezers for positioning very small parts.
- A precision craft knife, used carefully and with suitable protection.
- Small scissors and a ruler for paper or fabric components.
- Appropriate craft adhesive, if the kit doesn’t supply enough.
- A cutting mat and a tray or container for sorting tiny parts.
- Good task lighting, especially for dark or enclosed scenes.
Don’t assume that a missing tool is a defect. It may simply be excluded from the package. The important question is whether the total project cost and preparation still make sense for you.
Difficulty and assembly time
Difficulty labels are not fully standardised. One seller’s “beginner” kit may still involve delicate cutting, while another beginner model may use mostly ready-made pieces. Read the assembly description, product photographs, and customer feedback together rather than relying on one label.
Projects become more demanding when they include several of the following:
- Many unassembled furniture parts.
- Small paper coverings that need precise alignment.
- Handmade or painted decorative details.
- Lighting that must be routed through walls or flooring.
- Instructions that depend heavily on diagrams instead of written explanations.
- Pieces that require trimming, shaping, or colour matching.
Set aside more time than the seller’s estimate if you want a neat finish. Rushing adhesive, paint, wiring, or paper placement is one of the easiest ways to spoil an otherwise attractive miniature.
Instructions and support
Instructions are a major part of the experience. Look for clear diagrams, numbered components, assembly order, and guidance for delicate materials. If the listing provides sample pages, inspect them for legibility and useful labels.
Customer feedback can reveal recurring problems such as unclear wiring diagrams, parts that aren’t labelled, or translations that are difficult to follow. A single complaint may reflect an isolated issue, but repeated comments deserve attention. Buyers should also check the seller’s policy for missing or damaged components before starting the build.
Durability and maintenance
Miniature rooms are generally display pieces, not items designed for rough handling. Paper, fabric, thin wood, and small decorative objects can collect dust or loosen over time. Direct sunlight may also affect colours, depending on the materials used.
A covered display case can reduce dust, but it won’t eliminate maintenance. Use a soft brush or gentle air flow rather than pressing a cloth against fragile details. Keep the finished scene away from damp areas unless the manufacturer specifically states that the materials are suitable for them.
Common Advantages and Drawbacks
What buyers often like
- Creative control: Builders can often arrange or finish details in a personal way, even when following a set design.
- Display appeal: A completed room can work as a decorative object without needing much floor space.
- Focused activity: The slow, detailed process may appeal to people who prefer hands-on hobbies.
- Convenience: A kit can reduce the need to source every miniature component separately.
- Gift potential: These projects can suit craft-loving adults, provided the recipient enjoys assembly.
What can be frustrating
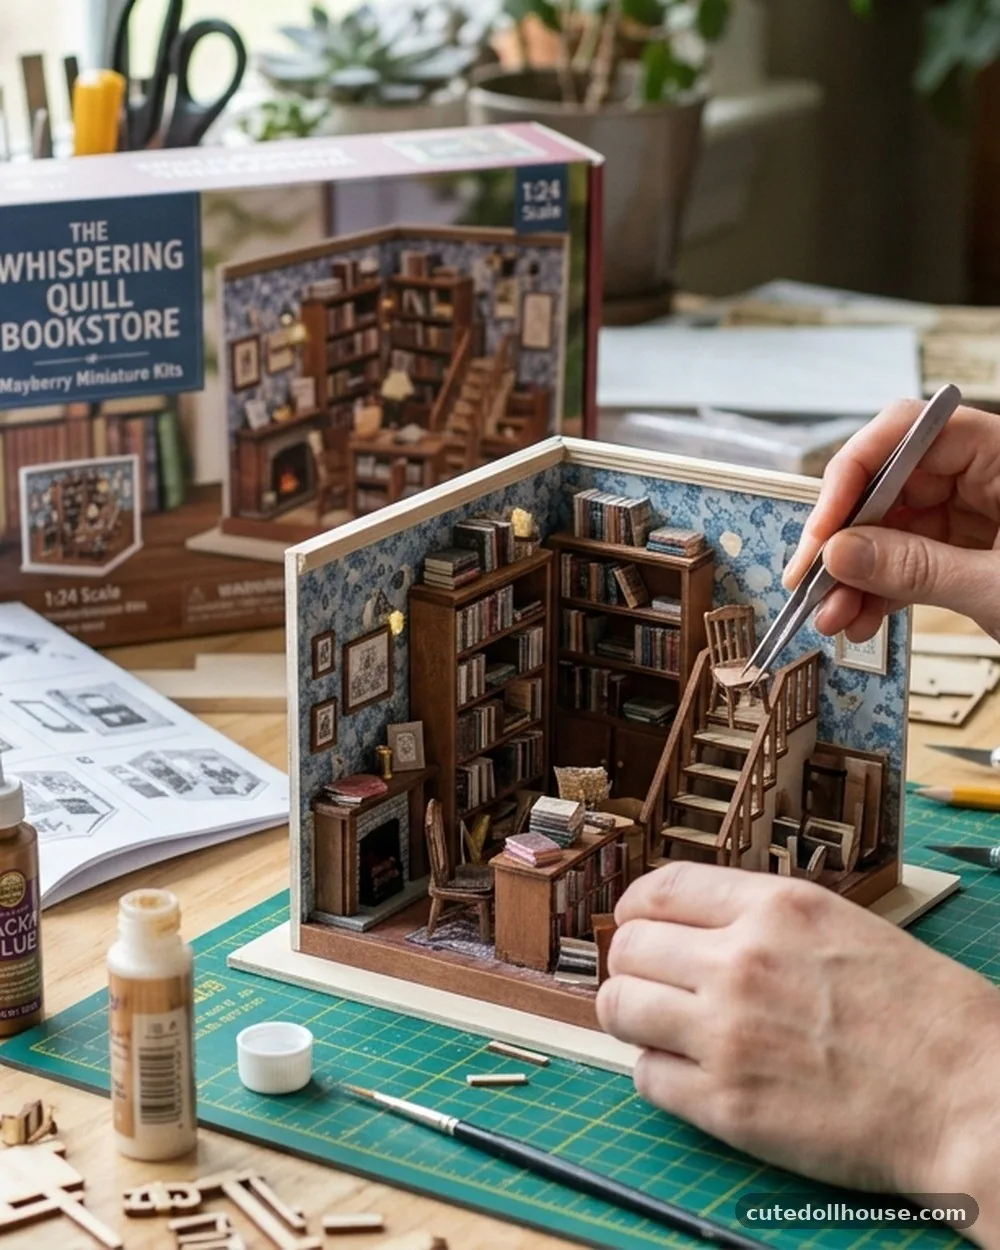
- Tiny components: Small pieces are easy to misplace and may be difficult to handle.
- Variable instructions: Clarity can differ significantly between brands and sellers.
- Extra supplies: Tools, glue, paint, batteries, or replacement parts may not be included.
- Fragile finishes: Paper and lightweight decorative elements need careful handling.
- Unclear expectations: Product images may show a more elaborate scene than the actual package provides.
- Limited play value: Many finished rooms are better suited to display than regular handling.
Recommendations by Buyer Type
For beginners
Start with a single-room design that has fewer structural stages, clear diagrams, and mostly prepared decorative pieces. Avoid choosing a complex multi-room house simply because it has more accessories. A smaller project makes it easier to learn how the materials, adhesive, and scale work together.
For experienced miniature builders
Look for kits with richer interiors, lighting, customisable layouts, or more involved furniture construction. Experienced buyers may appreciate a project that leaves room for repainting and personal decoration, but should still verify the quality of the instructions and the availability of replacement parts.
For appearance-focused buyers
Prioritise the finished style, scale consistency, display protection, and quality of the close-up details. A kit with fewer pieces can look better than a crowded one if its proportions and finishes are more coherent.
For value-focused buyers
Compare the full contents rather than the headline price. A less expensive kit may require extra adhesive, tools, paint, batteries, or replacement materials. Check dimensions too; a smaller finished scene may not deliver the display presence you expected.
For buyers who want lighting
Confirm whether the lighting system, wiring, switch, power source, and batteries are included. Find out where the battery compartment sits and whether it can be reached after the room is assembled. Lighting adds atmosphere, but it also adds another part of the project that can require troubleshooting.
How to Assemble a Miniature Room Kit More Reliably
Read the full instructions before opening the glue. Sort the parts into labelled groups, compare them with the inventory if one is supplied, and protect the smallest pieces in separate containers. This simple preparation can prevent avoidable mistakes later.
- Check the package for missing, damaged, or visibly incorrect components.
- Identify the structural pieces before assembling furniture or decorations.
- Dry-fit parts where possible so you can spot alignment problems early.
- Use small amounts of adhesive and allow each stage to set before adding weight.
- Install or test lighting according to the instructions before closing inaccessible areas.
- Keep finished sections covered while you work to reduce dust and accidental damage.
- Make final adjustments only after the main structure is stable.
Adhesive choice matters. A glue that works well on paper may not bond smoothly to plastic, metal, painted wood, or fabric.
Follow the kit instructions and use ventilation where appropriate. If children are involved, adult supervision is important for sharp tools, strong adhesives, and small parts.
Questions to Ask About Customer Feedback
Reviews can be useful, but they should be read for patterns rather than isolated reactions. Look for comments about the exact model and seller, since similarly named kits may contain different parts or come from different production batches.
Useful questions include:
- Do buyers report receiving all major components?
- Are the instructions understandable without outside videos?
- Do the finished dimensions match the listing?
- Are the materials described accurately?
- Do lighting and battery components work as described?
- Are missing-part or replacement requests handled clearly?
- Do buyers mention fragile pieces, poor fit, or inconsistent scale?
Feedback can also reflect individual skill and expectations. One builder may consider a project relaxing and manageable, while another may find the same number of parts excessive. Treat reviews as evidence about recurring tendencies, not as a guarantee of your own experience.
Miniature Room DIY Kits FAQ
Are miniature room DIY kits suitable for beginners?
Some are, but difficulty varies widely. Beginners should look for a single-room design, clear instructions, fewer intricate parts, and limited wiring. Check the required tools and materials before buying.
What should a miniature house kit include?
Contents differ, so there is no universal standard. A listing may include structural parts, furniture, decorations, instructions, and lighting, but glue, batteries, tools, paint, or protective covers may be separate. Always read the itemised contents list.
Are these kits intended for children?
Many are better suited to teens or adults because they contain tiny pieces, sharp tools, adhesives, or electrical components. Use the manufacturer’s age guidance and supervise children whenever the project includes hazardous or easily swallowed parts.
How long does it take to build a miniature room?
There is no reliable universal time. The build can depend on the number of parts, the amount of painting or trimming, the builder’s experience, and the desired finish. A careful decorative project may take much longer than a basic assembly.
Do miniature kits usually include glue?
Not always. Some include adhesive, while others expect the buyer to provide it. Confirm the package contents and check whether the recommended glue is suitable for the kit’s paper, wood, plastic, fabric, or metal components.
What is the difference between a miniature room kit and a dollhouse kit?
A miniature room kit usually focuses on one themed interior or display scene. A dollhouse kit may provide a larger structure with multiple rooms and more scope for furnishing or play. The right choice depends on available space, project length, and intended use.
Final Verdict
The best miniature room DIY kits are worth buying when you want a detailed, hands-on craft project and have the patience to assemble a display piece carefully. The strongest choice isn’t necessarily the one with the most accessories; it is the kit with clear contents, suitable difficulty, coherent design, dependable instructions, and dimensions that fit your space.
Before ordering, verify the included tools, adhesive, lighting, batteries, finished size, and seller support for missing parts. Beginners should start small, while experienced builders can choose a more elaborate scene with room for customisation.
If you prefer instant decoration or a toy built for frequent handling, a finished miniature or traditional dollhouse may suit you better. With realistic expectations, comparing the best miniature room DIY kits can lead to a rewarding project rather than an avoidable source of frustration.