
Finding the best DIY dollhouses with LED lighting means balancing appearance, construction, wiring, and the time you’re willing to spend on a miniature project. These kits can become decorative displays, creative hobbies, or thoughtful gifts, but they aren’t all equally suitable for beginners. Some focus on detailed interiors and atmosphere, while others keep the build simpler with battery-operated lights and fewer parts.
The right choice depends on your available space, patience, comfort with small components, and expectations for the finished scene. This guide explains how illuminated dollhouse kits work, which features deserve attention, where common frustrations arise, and how to decide whether a particular kit is worth buying before placing an order.
What Are DIY Dollhouses with LED Lighting?
DIY dollhouses with LED lighting are miniature building kits that combine a small-scale room, house, shop, or themed scene with an integrated lighting system. The kit may include structural pieces, decorative furnishings, wallpaper, flooring, fabric, plants, signs, and tiny electrical components. Depending on the design, buyers may need to assemble nearly every part by hand.
The lighting is usually created with miniature LED bulbs, light strips, wired lamps, or battery-operated fixtures. Some sets use a simple on-and-off switch, while others require several wires to be routed through walls and floors. A few designs may use USB power, but the exact power source, switch arrangement, and battery requirements vary by model and seller.
That distinction matters. A dollhouse can look simple in product photos while still requiring careful cutting, gluing, threading, painting, and troubleshooting. Buyers should read the full listing rather than assuming that a finished-looking image represents what arrives in the box.
Why People Choose Illuminated Dollhouse Kits
LED lighting changes the character of a miniature display. A room that looks ordinary in daylight can feel warm and more dimensional when lamps or windows glow after dark. Lighting also helps draw attention to small details that might otherwise disappear inside a deep room or enclosed house.
- Atmosphere: Warm or colored light can make a miniature room feel lived-in and visually interesting.
- Creative control: Builders can often arrange furniture, decorations, and lighting details according to their own preferences.
- Display value: A completed scene can work as a shelf, desk, cabinet, or hobby-room display.
- Skill building: Assembly can introduce basic miniature construction, craft work, and low-voltage wiring concepts.
- Personalisation: Paint, paper, furniture placement, and accessories allow the finished project to look different from the box image.
There’s also a practical reason to choose LEDs: they are generally compact and produce less heat than traditional miniature bulbs. Even so, buyers shouldn’t assume that every kit includes the same type of LED system. Check whether the lights are prewired, whether batteries are supplied, and whether replacement components are available.
Are DIY Dollhouses with LED Lighting Worth Buying?
For the right buyer, an illuminated dollhouse kit can be a rewarding long-form craft project rather than a quick decoration. It’s a good choice for someone who enjoys detailed work, has a suitable workspace, and likes the idea of building a display gradually. The lighting adds a clear visual payoff once the project is complete.
It may be a poor choice for anyone expecting a ready-made ornament. Small pieces can be easy to misplace, adhesives may need time to dry, and some projects demand more patience than their compact size suggests. A preassembled miniature, a simpler room box, or a basic dollhouse without wiring may be more suitable for a first project or a time-limited gift.
Choose an illuminated kit if you want:
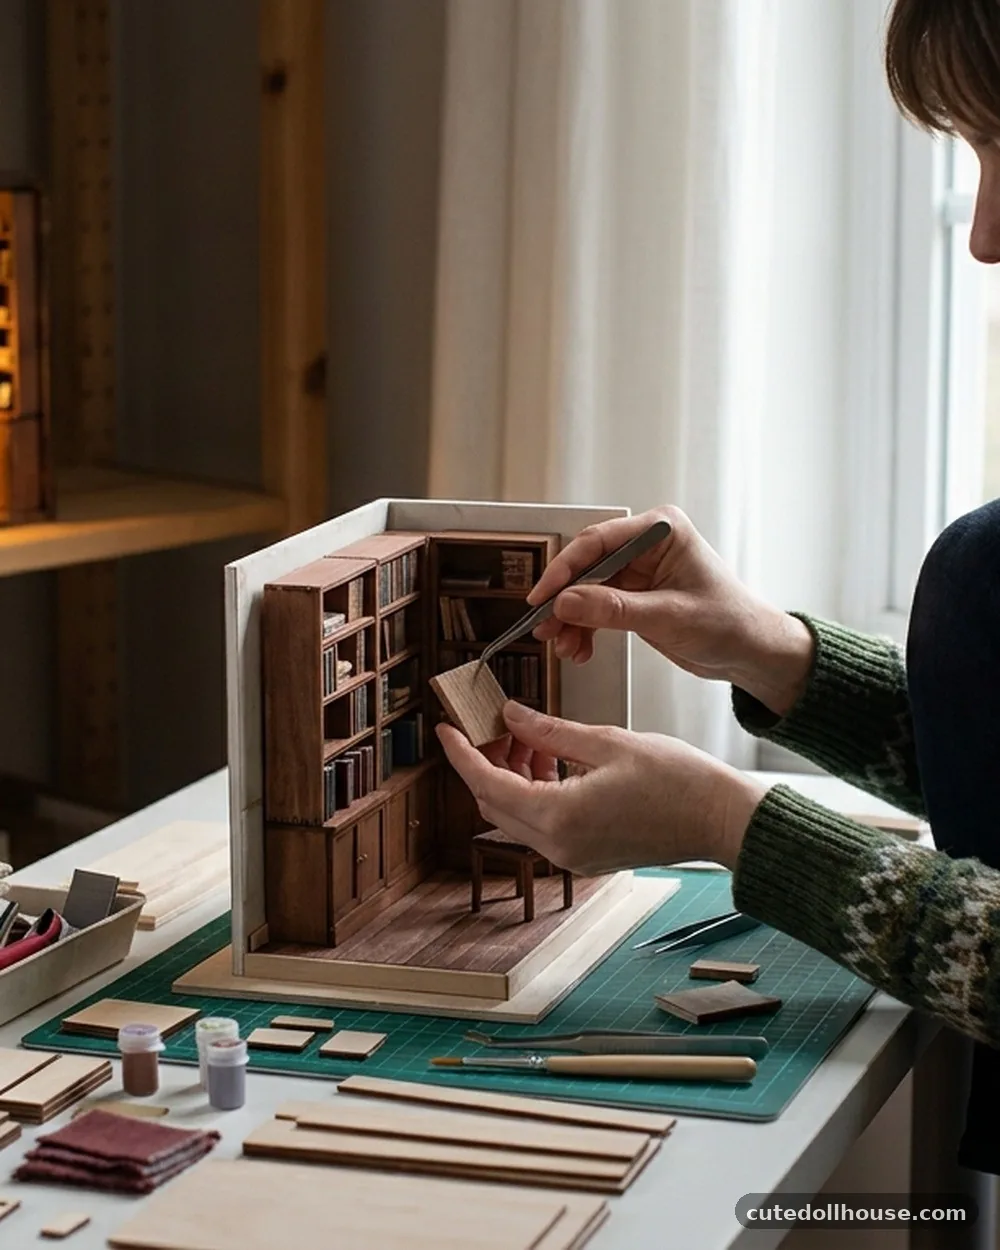
- A hands-on hobby with a visible finished result
- A miniature scene that can be displayed in low light
- Opportunities to customise furniture, décor, and room layout
- A project that can be completed in stages rather than all at once
Consider an alternative if you need:
- A finished product that can be displayed immediately
- A very low-maintenance decoration
- Large parts that are easier to handle
- A project with no wiring, trimming, or delicate assembly
Important Buying Criteria
Build and material quality
Look for clear information about the main materials. Common components may include wood or wood-like panels, card, fabric, plastic, acrylic, wire, foam, and paper coverings. Material choice affects how easy the pieces are to cut, glue, paint, and align.
Thin panels can help keep a kit lightweight, but they may bend if stored in damp conditions or handled roughly. Paper décor can look attractive yet tear during installation. Transparent plastic windows may be useful for displaying the interior, although they can scratch during assembly.
Product photos can’t always show the thickness or rigidity of the parts. If the listing doesn’t describe the construction materials, treat that as an information gap and check the seller’s specification sheet or customer photographs before buying.
Design and appearance
Choose a theme you’ll still enjoy looking at after the build is finished. Popular styles include bedrooms, cafés, bookstores, greenhouses, living rooms, workshops, and compact house interiors. The theme affects not only the appearance but also the type of furniture and lighting included.
Pay attention to scale and perspective. A highly detailed room can look excellent from the front but may be difficult to view if the opening is narrow or the house is deep. Open-front designs are usually easier to decorate and photograph, while enclosed designs may create a more dramatic glowing effect.
Size and display space
Check the completed dimensions, not just the package size. A kit may occupy more shelf depth than expected once the roof, base, wiring, and any protective cover are included.
Also consider access to the battery compartment or power switch. If the finished house must be moved every time you want to turn on the lights, the display arrangement may become inconvenient. A small footprint is useful, but an overly cramped layout can make assembly harder.
Lighting and power
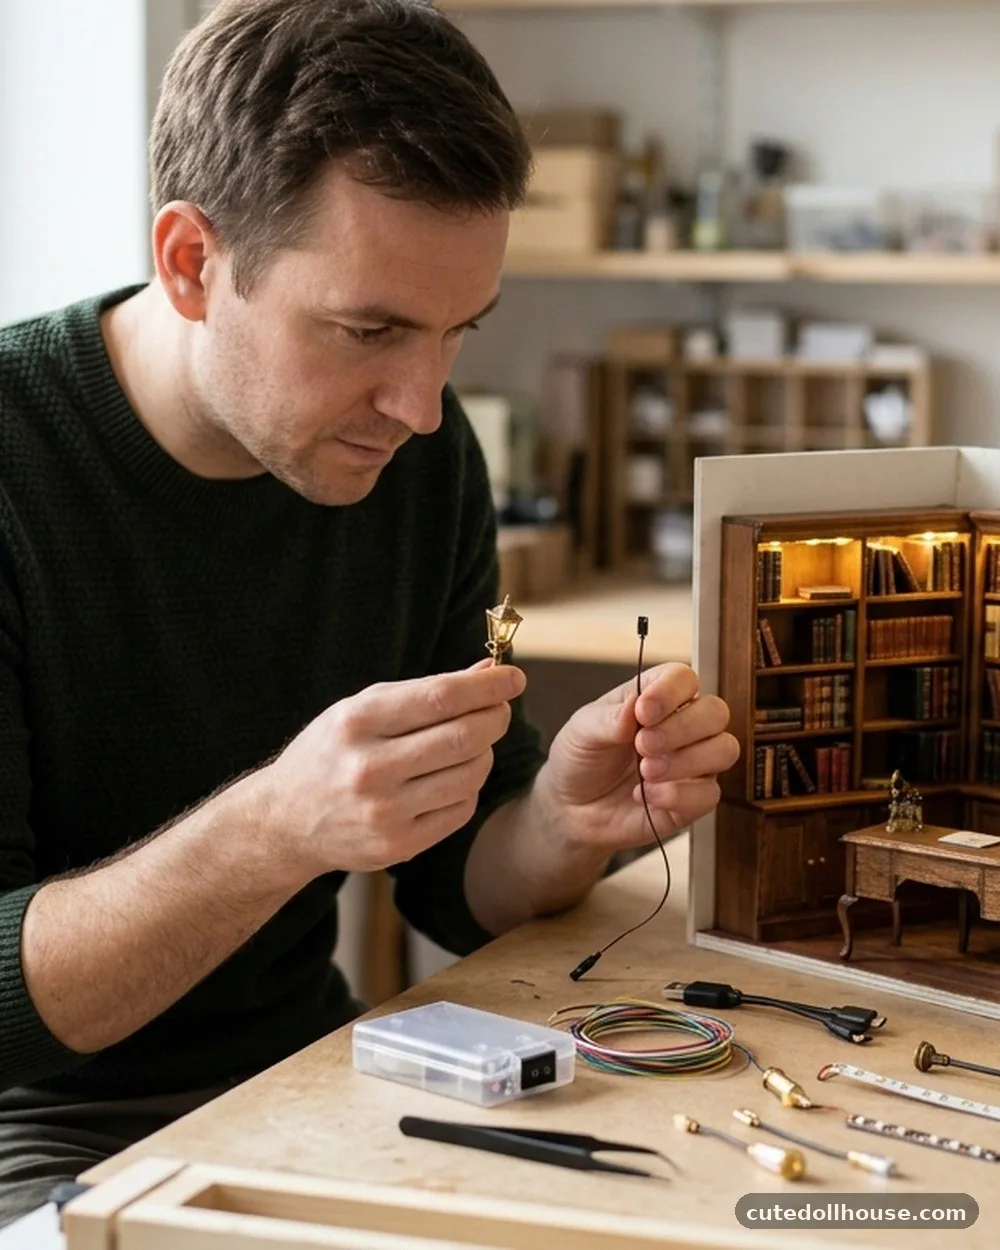
The LED system deserves as much attention as the miniature furniture. Confirm the following before ordering:
- Whether lighting is included or shown only for illustration
- Whether the system uses batteries, USB power, or another supply
- Whether batteries or a power adapter are included
- Where the switch and battery compartment are located
- How many lamps, bulbs, strips, or illuminated features are supplied
- Whether wires need to be installed during construction
- Whether replacement parts can be sourced if a light fails
Battery-operated dollhouse lights can simplify placement because they don’t require a nearby outlet. Their drawback is the need to replace batteries and keep the compartment accessible. USB-powered lighting may suit a permanent desk or shelf display, but it can restrict placement if no suitable power source is nearby.
Anyone planning custom wiring should understand the electrical instructions before gluing walls into place. For general household electrical safety information, the U.S. Consumer Product Safety Commission’s toy safety guidance is a useful reference, although it doesn’t replace the instructions supplied with a particular kit.
Difficulty level
“DIY” doesn’t describe one consistent level of difficulty. A small room scene with fewer accessories may be manageable for a first-time builder, while a multi-room house with intricate wiring and tiny fabric pieces can be demanding even for an experienced crafter.
Look for an honest parts list, assembly photographs, or a manual preview. Listings that clearly explain the process are easier to assess than listings that rely only on polished finished images. If difficulty isn’t stated, examine the number of rooms, furniture pieces, lights, and decorative elements as clues.
Included accessories
Accessories can account for much of a miniature’s visual appeal. Check whether the kit includes furniture, lampshades, bedding, plants, books, dishes, signs, flooring, curtains, and decorative objects, or whether some of these are optional additions.
Tools and consumables are another potential gap. Glue, batteries, paint, tweezers, craft knives, scissors, soldering equipment, and spare wire may not be included. Never assume that a complete-looking image means the box contains every item shown.
Customer feedback and common complaints
Customer comments can reveal practical issues that a product description leaves out. Look for repeated remarks about missing pieces, unclear instructions, fragile materials, difficult wiring, poor adhesive, or differences between the finished result and the promotional image.
One isolated complaint may reflect shipping damage or an unusual assembly mistake. Repeated reports deserve more weight, especially when they identify the same component or instruction problem. Customer photos are often more useful than star ratings because they show scale, lighting colour, and the actual density of the finished scene.
Maintenance and long-term display
Miniature displays collect dust quickly, particularly when they contain fabric, plants, books, or open shelving. A soft brush, handheld air blower, or carefully used low-suction vacuum can help, but delicate pieces should be secured first.
Keep the finished house away from excessive moisture, direct sunlight, and locations where it may be knocked over. Paper and fabric can fade, while adhesives may weaken under poor storage conditions. If the kit runs on batteries, remove them during long periods of storage to reduce the risk of leakage.
How the Main Options Compare
Because no specific product models or verified manufacturer specifications were supplied for this category, the table below compares the common types of illuminated DIY dollhouse rather than inventing a product ranking. Individual kits can differ substantially, so use the seller’s listing to confirm the details.
| Product Type | Best For | Typical Difficulty | Key Feature | Main Drawback | Overall Value |
|---|---|---|---|---|---|
| Small single-room LED kit | Beginners and shorter projects | Low to moderate, depending on detail | Compact scene with fewer parts | Limited room for customisation | Strong when simplicity matters |
| Multi-room illuminated dollhouse | Experienced builders and display-focused buyers | Moderate to high | Larger scene with several lighting points | More wiring, alignment, and assembly time | Best when detail justifies the extra work |
| Battery-operated miniature light kit | Flexible shelf placement | Varies by included fixtures | No nearby outlet required | Battery access and replacements are necessary | Practical for movable displays |
| USB-powered LED dollhouse | Permanent desk or cabinet displays | Varies by construction | Convenient access to continuous power | Needs a suitable power source and cable route | Useful when the display location is fixed |
| Highly detailed themed room | Collectors and appearance-focused crafters | Moderate to high | Rich décor and strong visual character | Tiny accessories can slow the build | Good for buyers who value detail over speed |
Ease of Assembly: What to Expect
Most DIY miniature kits are built in stages. A typical sequence may involve preparing the walls and floor, adding wallpaper or paint, installing flooring, routing wires, assembling furniture, fitting lighting, and arranging the final décor. The precise order varies, and wiring often needs to be completed before walls or ceilings are permanently fixed.
Set aside a clean, well-lit work area. A shallow tray can stop tiny pieces from rolling away, while labelled containers help separate furniture, electrical parts, and decorative accessories. Tweezers, a craft knife, small scissors, a ruler, clamps, and an appropriate adhesive are often useful, but the supplied instructions should determine which materials are safe for the kit.
Don’t rush the electrical stage. Test the lights at the point recommended by the instructions, then confirm that wires are positioned correctly before closing the walls. A small mistake hidden inside the structure can be difficult to repair later.
Ways to make assembly less frustrating
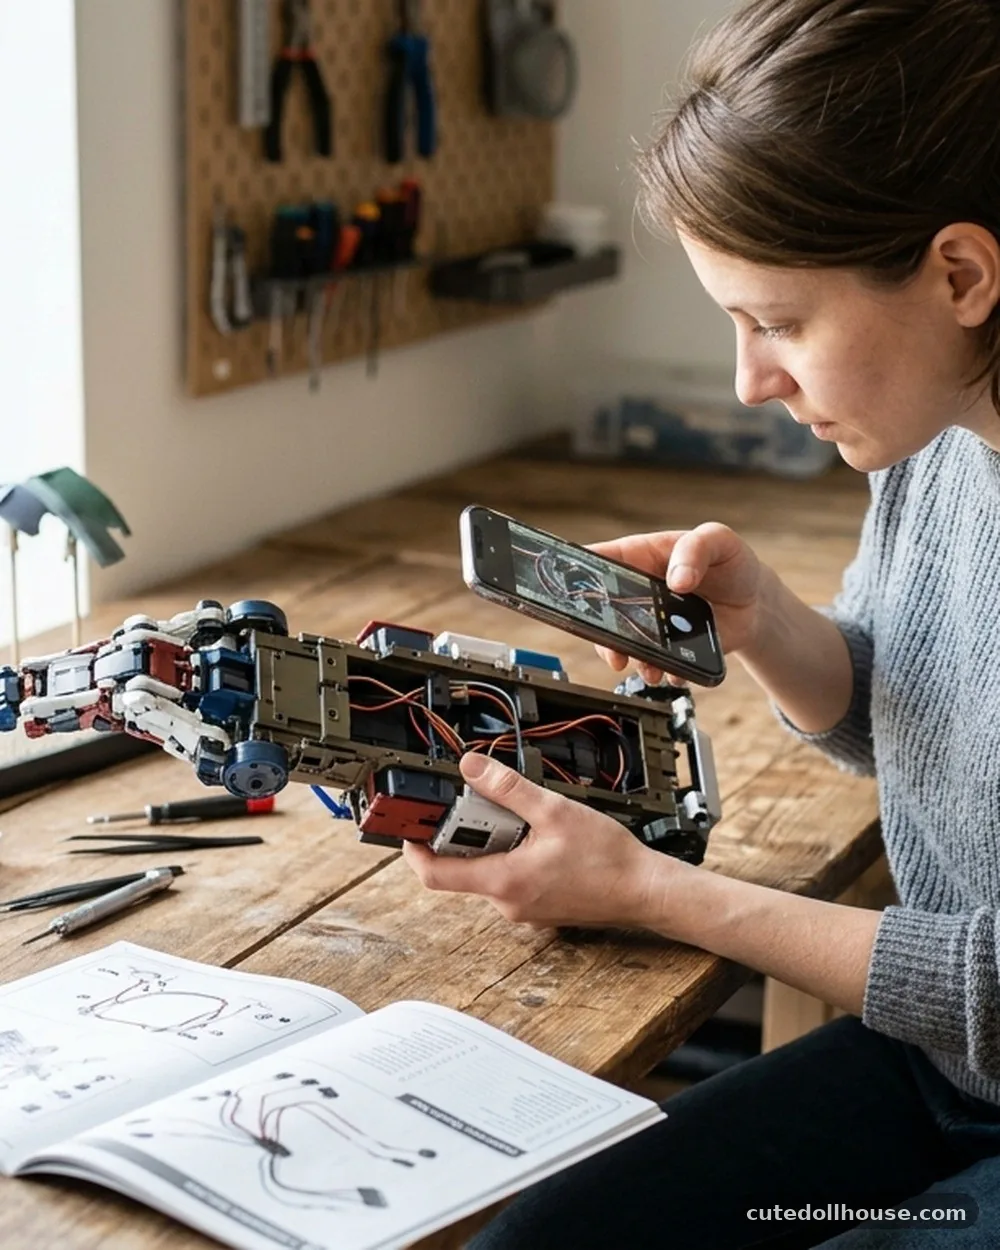
- Read the complete instruction booklet before cutting or gluing anything.
- Compare the parts with the inventory and report missing components promptly.
- Build and test small sections before permanently attaching them.
- Keep wires away from pinch points, moving doors, and sharp edges.
- Allow adhesives and painted parts to dry fully before handling them again.
- Photograph hidden wiring routes so future repairs are easier.
Quality, Durability, and Realistic Expectations
A miniature dollhouse is a delicate display, not usually a robust toy intended for rough handling. The finished quality depends on the kit’s materials, the accuracy of the parts, the adhesive used, and the care taken during construction.
Lighting can make the display more attractive, but it also adds another possible failure point. Wires may loosen, switches may wear, and batteries may need replacement. A kit with a simple lighting circuit can be easier to maintain than one with many small lamps, even if the latter looks more impressive.
Durability also depends on the location. A protected cabinet will generally be kinder to a paper-and-fabric miniature than a busy hallway shelf. Before buying, decide whether the completed scene will be handled, moved, photographed, or left in one place.
Who Should Buy an Illuminated DIY Dollhouse?
Best for beginners
Beginners should usually start with a compact room, a clear manual, fewer accessories, and a straightforward battery-operated lighting system. A smaller project provides room to learn miniature assembly without committing to a large, expensive, multi-stage build.
Best for experienced crafters
Experienced builders may prefer multi-room scenes, detailed themed interiors, or kits that leave space for custom décor and lighting changes. More complex options can be rewarding, but only if the parts list and wiring instructions are sufficiently clear.
Best for appearance-focused buyers
Prioritise the finished layout, lighting colour, window design, interior depth, and quality of the product photographs. Ask whether the image shows optional accessories or the complete kit. A visually appealing scene can lose much of its impact if key decorations are sold separately.
Best for flexible displays
Battery-operated lights are often the practical choice for shelves, cabinets, and locations away from outlets. Confirm that the switch remains accessible once the house is assembled.
Best for value-focused buyers
Compare what is included rather than looking only at the initial purchase price. A cheaper kit may require separate glue, tools, batteries, furniture, or replacement parts. A slightly more complete package may offer better value if it reduces those extra purchases.
Who May Want an Alternative?
- People short on time: Consider a preassembled miniature or a simpler decorative room box.
- Builders who dislike wiring: Choose an unlit kit or a scene with a clearly preassembled lighting system.
- Young children: Many miniature kits contain tiny pieces, sharp tools, adhesives, and delicate wiring; adult supervision and the manufacturer’s age guidance are important.
- Buyers needing a durable playhouse: A purpose-built children’s dollhouse may be more appropriate than a craft display.
- People with limited workspace: Check the working footprint and storage needs before ordering.
Questions to Ask Before Buying
Before committing to one of the best DIY dollhouses with LED lighting, confirm the details that most affect the experience:
- What are the assembled dimensions?
- Are all lights shown in the product images included?
- What powers the lighting, and are batteries or adapters supplied?
- Does the kit require soldering or other specialist tools?
- Are glue, paint, and basic craft tools included?
- Does the seller provide a full parts list and instruction preview?
- Can replacement LEDs, wires, or switches be obtained?
- Which parts are preassembled, and which must be made from raw materials?
- Are the listed dimensions for the completed house or the packaging?
FAQ
How do LED lights work in a DIY dollhouse?
Miniature LEDs are connected to a low-voltage power source such as batteries or a USB supply. The wiring may run behind walls, beneath floors, or through small openings, so the instructions should be followed before the structure is permanently closed.
Are battery-operated dollhouse lights better than USB lights?
Neither is automatically better. Battery power offers flexible placement, while USB power can be convenient for a display that stays near a suitable outlet or charging source. Check switch access, cable routing, and replacement requirements.
What is the best dollhouse kit for beginners?
A compact kit with clear instructions, fewer tiny accessories, a manageable number of lighting points, and no complicated wiring is usually the most approachable starting point. The seller’s stated difficulty level should be treated as a guide, not a guarantee.
Do DIY dollhouse kits include everything shown in the photos?
Not always. Some listings use finished-scene photographs that include optional decorations, tools, batteries, or furniture sold separately. Read the included-items list carefully and ask the seller about anything unclear.
How can dollhouse LED lights be maintained?
Keep the display dry and dust it gently with a soft brush or air blower. Leave access to the battery compartment or switch, avoid pulling on wires, and remove batteries if the house will be stored for an extended period.
Are illuminated dollhouse kits suitable for children?
Suitability depends on the kit’s age guidance and the child’s ability to handle tiny parts, adhesives, and tools safely. Many detailed kits are better treated as supervised craft projects rather than independent toys.
Final Verdict
The best DIY dollhouses with LED lighting are worth buying when you want a creative project that becomes a distinctive miniature display. Their strongest appeal is the combination of hands-on assembly and atmospheric lighting, but that appeal comes with delicate parts, possible wiring work, and a need for patience.
Choose a compact, clearly documented kit for a first project, and reserve complex multi-room designs for builders who enjoy detailed craft work. Before ordering, verify the finished dimensions, power system, included accessories, difficulty level, and replacement options. Those checks matter more than polished product images, and they’ll help you choose an illuminated dollhouse you’re likely to finish and enjoy.
Meta Title:
Meta Description: .
Suggested URL Slug:
Related Keywords:
miniature LED lights for dollhouses
battery operated dollhouse lights
dollhouse light kit
dollhouse lighting
LED lights and switches
best miniature LED lights for models
DIY miniature house kit
dollhouse kits for beginners